How To Add Pre- Admission Record?
To Add "Pre-Admission" perform steps below:
- Access the Campus panel by clicking on the drop-down arrow next to Control Panel
 and then click on "Open Business"
 - Go to the "Admission" module from side bar menu.
- New admission
- Quick Admission
- New Admission:
You can add information by "New admission" where detailed information about the student can be accurately input and stored for future use. In "New Admission" you can add more then one family person details . - Quick Admission:
You can also add information by quick admission in which you can add less information of the student. - Pre-Admission Check Box:
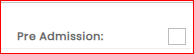
To manage "Pre-Admission" , make sure to tick the box next to "Pre-Admission". This will affect the student's "Admission No." All entries marked with the Pre-Admission checkbox will be included in the Pre-Admission list with a distinct "Admission No." compared to the confirmed student's "Admission No." in "Student List".
- Direct Enrollment:
Avoid selecting the "Direct Enrollment" option for "Pre-Admission"
- New Admission:
- Fill Academic Information
Admission No: The Admission Number is typically generated automatically, but can also be entered manually. It may be a numeric value (e.g. 123) or alphanumeric. The " Pre-Admission No Prefix" can be customized in the School General Setting. To Add " Pre-Admission No Prefix" Click the link- Admitted Course: Enter class name (In which student got admission in institute).
Later it will use in "Student Certificates" - Current Course: Enter student's current class name.
Only use for enrollment purpose by using (Courses & Batches) module.
- Admitted Course: Enter class name (In which student got admission in institute).
- Enter Student Personal Information.
This section will include Student personal Information- Student Picture: will also be attached in this section. Picture should be of Passport size ".JPG or JPEG" type file. And size of picture should be 1 - 500KBs. To upload student picture use "Browse" Button with attach picture option.
- Student Mobile for SMS: Only use to send SMS of "Student Account's login details" (Student App)

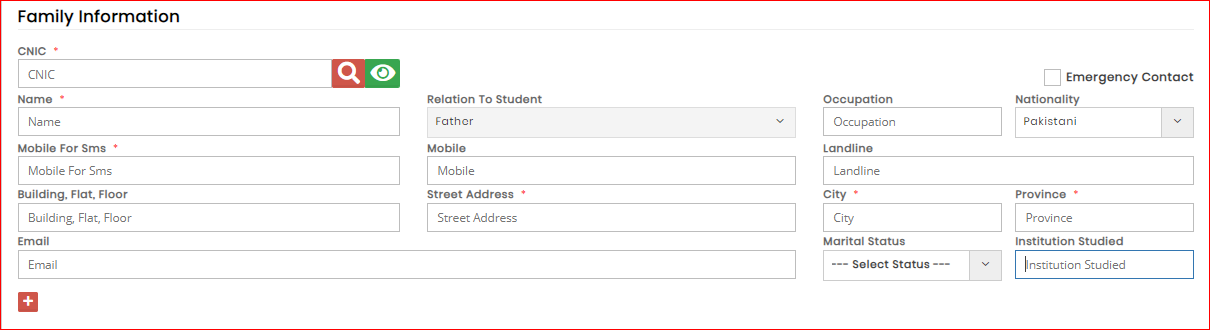
- Enter Family Information
- This Information is related to Student Guardian Information i.e. Father.
- More then one family Members / guardian information can be added using "Plus sign"
 at the bottom of family information section.
 - If a Student getting admission is a sibling of an existing student (Whose record is already entered) then utilize "Search"
 button next to the CNIC field to automatically retrieve Family Information instead of manually inputting it again.
 - Eye Sign
 is utilized to verify the number of siblings associated with a specific father's CNIC .
Father's CNIC is only option for managing sibling record.
- This Information is related to Student Guardian Information i.e. Father.
- Enter Fee Information
- This section include Information related student Monthly Fee. Only Those services will be added here which student will pay Monthly, Quarterly, or Yearly. Monthly Tuition Fee will be included in Fee Information. If a Student using Hostel or Transport Service then That Detail will be added by checking the Transport Check Box or Hostel Check Box.
- If a student has multiple services applied in the same payment cycle (Monthly, Quarterly, or Yearly), utilize the "Plus sign" located at the bottom of the Fee Information section.

- To Use Transport (Optional)
This section will Include Transport related information of Student.
Station: From Where student come, Rout by using which rout he/she travel, how much he/she pay and What type of Traveling service He/she use One way travel or Two way travel. All This information is entered in Settings and used here.
For Transport Management Click the link
- Use Hostel (Optional)
If a student use Hostel Service this Option will be used. Hostel Information is Entered using Hostel Module from Settings and used here.
For Hostel Management Click the link - Save Record
After Entering Complete Information mentioned Above Click Save & New or Save & Close Option. Save & Close will Save All record entered and show in "Pre-Admission List" . Save & New Button will save all the entered Data and Renew the Admission Form to Enter Next Record. "Pre-Admission" Also could be Canceled by clicking Cancel Button.
